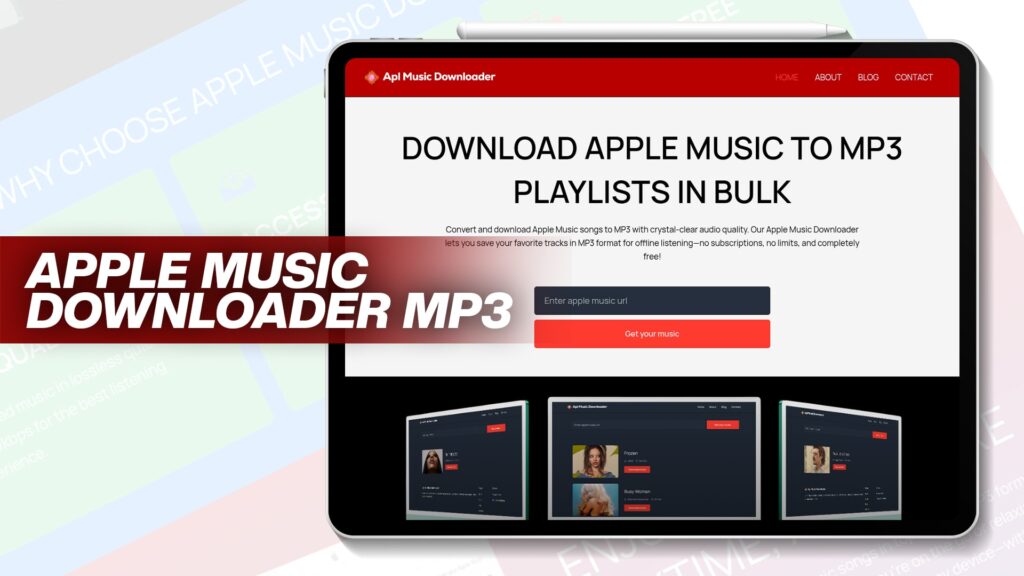
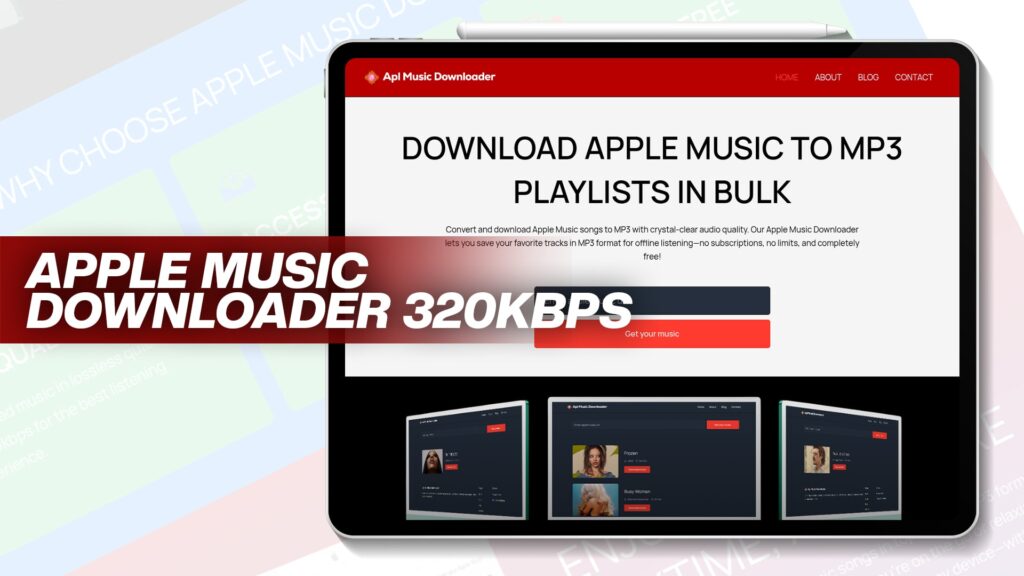
Listening to your favorite Apple Music tracks offline and in MP3 format is a great way to enjoy your music anytime, anywhere. But Apple Music comes with DRM (Digital Rights Management), which limits how you can use downloaded songs. That’s where Apl Music Downloader comes in.
With Apl Music Downloader, you can convert Apple Music tracks to MP3 quickly, easily, and without losing quality. In this guide, we’ll walk you through each step of the process.
Why Convert Apple Music to MP3?
1. Offline Listening
MP3 files can be saved to your device and played without the internet.
2. Device Compatibility
MP3 is the most widely supported format—compatible with smartphones, laptops, car stereos, and more.
3. Avoid DRM Restrictions
DRM-protected Apple Music songs can’t be shared or played on non-Apple devices. MP3 versions are free of those restrictions.
4. Permanent Access
MP3 files are yours forever—even if you cancel your Apple Music subscription.
What You Need Before You Start
To convert Apple Music to MP3 using Apl Music Downloader, make sure you have the following:
A computer (Windows or Mac)
Installed version of Apl Music Downloader (Download Here)
iTunes or Apple Music app with songs downloaded (for verification only)
Install Apl Music Downloader
Download the App:
Visit Apl Music Downloader
Choose the version for your operating system (Windows or Mac)
Download and run the installer
Setup:
Follow the on-screen instructions
Launch the application once installed
Launch iTunes or the Apple Music App
Make sure your Apple Music tracks are available in your library. Apl Music Downloader will detect your songs through your account.
Add Songs to Apl Music Downloader
How to Import:
Open APL Music Downloader
Click on “Add” or “Import”
Select the songs or playlists from your Apple Music library
Tip:
You can select multiple songs or entire playlists for batch conversion.
Choose Output Format and Quality
Set Format:
Click on “Output Format” in the settings
Choose MP3 from the list
Set Quality:
Choose from 128kbps, 192kbps, or 320kbps depending on your needs
For best quality, select 320kbps
Select Output Folder
Choose Where to Save Files:
Go to “Output Folder” in settings
Choose a folder where your converted MP3s will be stored
Make sure you have enough space on your device
Start the Conversion
Final Step:
Click “Convert”
Wait while the tool processes your songs
Conversion Time:
Depends on the number of songs
Generally takes a few seconds per track
Progress Bar:
Shows how many songs are done and how many are left
Enjoy Your MP3 Music
Once done, go to your output folder. Your MP3 files are ready to:
Play on any device
Transfer to USB or SD cards
Burn to CDs
Share with friends
Tips for Best Results
Use High-Quality Settings
For the best sound experience, choose 320kbps when converting.
Update Regularly
Keep your Apl Music Downloader updated for the latest features and stability improvements.
Backup Your MP3s
Use cloud services or external drives to protect your music.
Common Errors and Fixes
Error 1: Songs Not Showing in Apl Downloader
Ensure your Apple Music app is up to date
Restart the app and try again
Error 2: Conversion Fails Midway
Check your internet connection
Re-add the song and retry
Error 3: Output Folder Missing
Double-check your output folder settings
Create a new folder and set it as the destination
Conclusion
Converting Apple Music to MP3 doesn’t have to be hard or technical. With Apl Music Downloader, you get a reliable, easy-to-use tool that saves time and gives you full control over your music.
Download the tool today from Apl Music Downloader and enjoy unlimited access to your favorite songs—anytime, anywhere, and on any device!

